Travel Coffee Setup: AeroPress Go, Grinder, and Scale
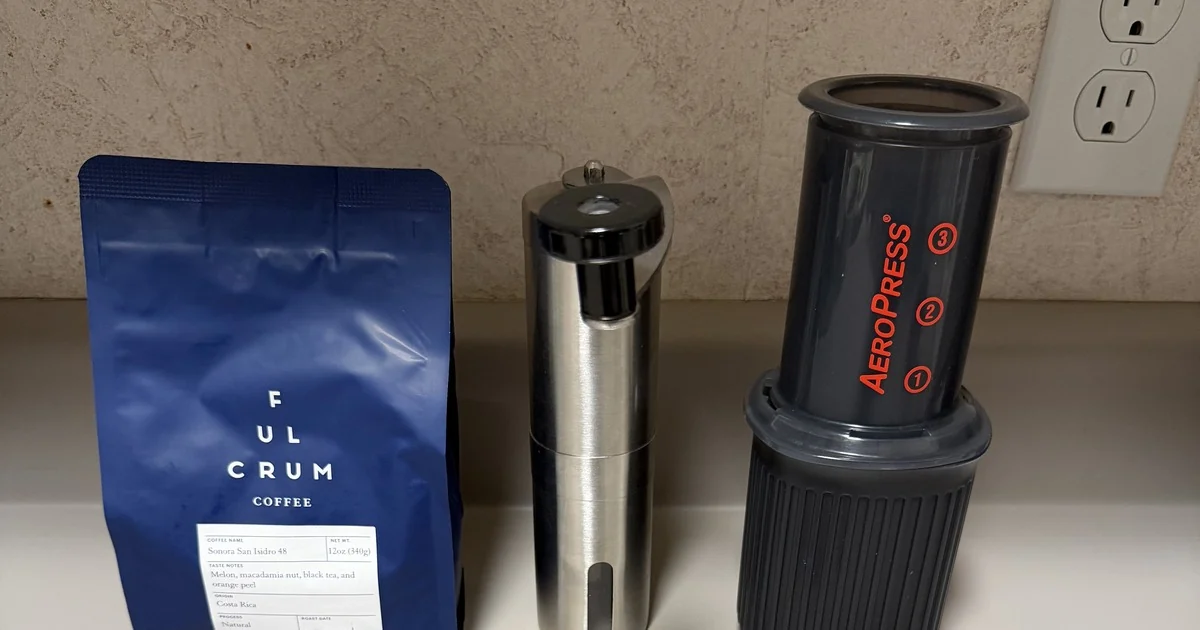
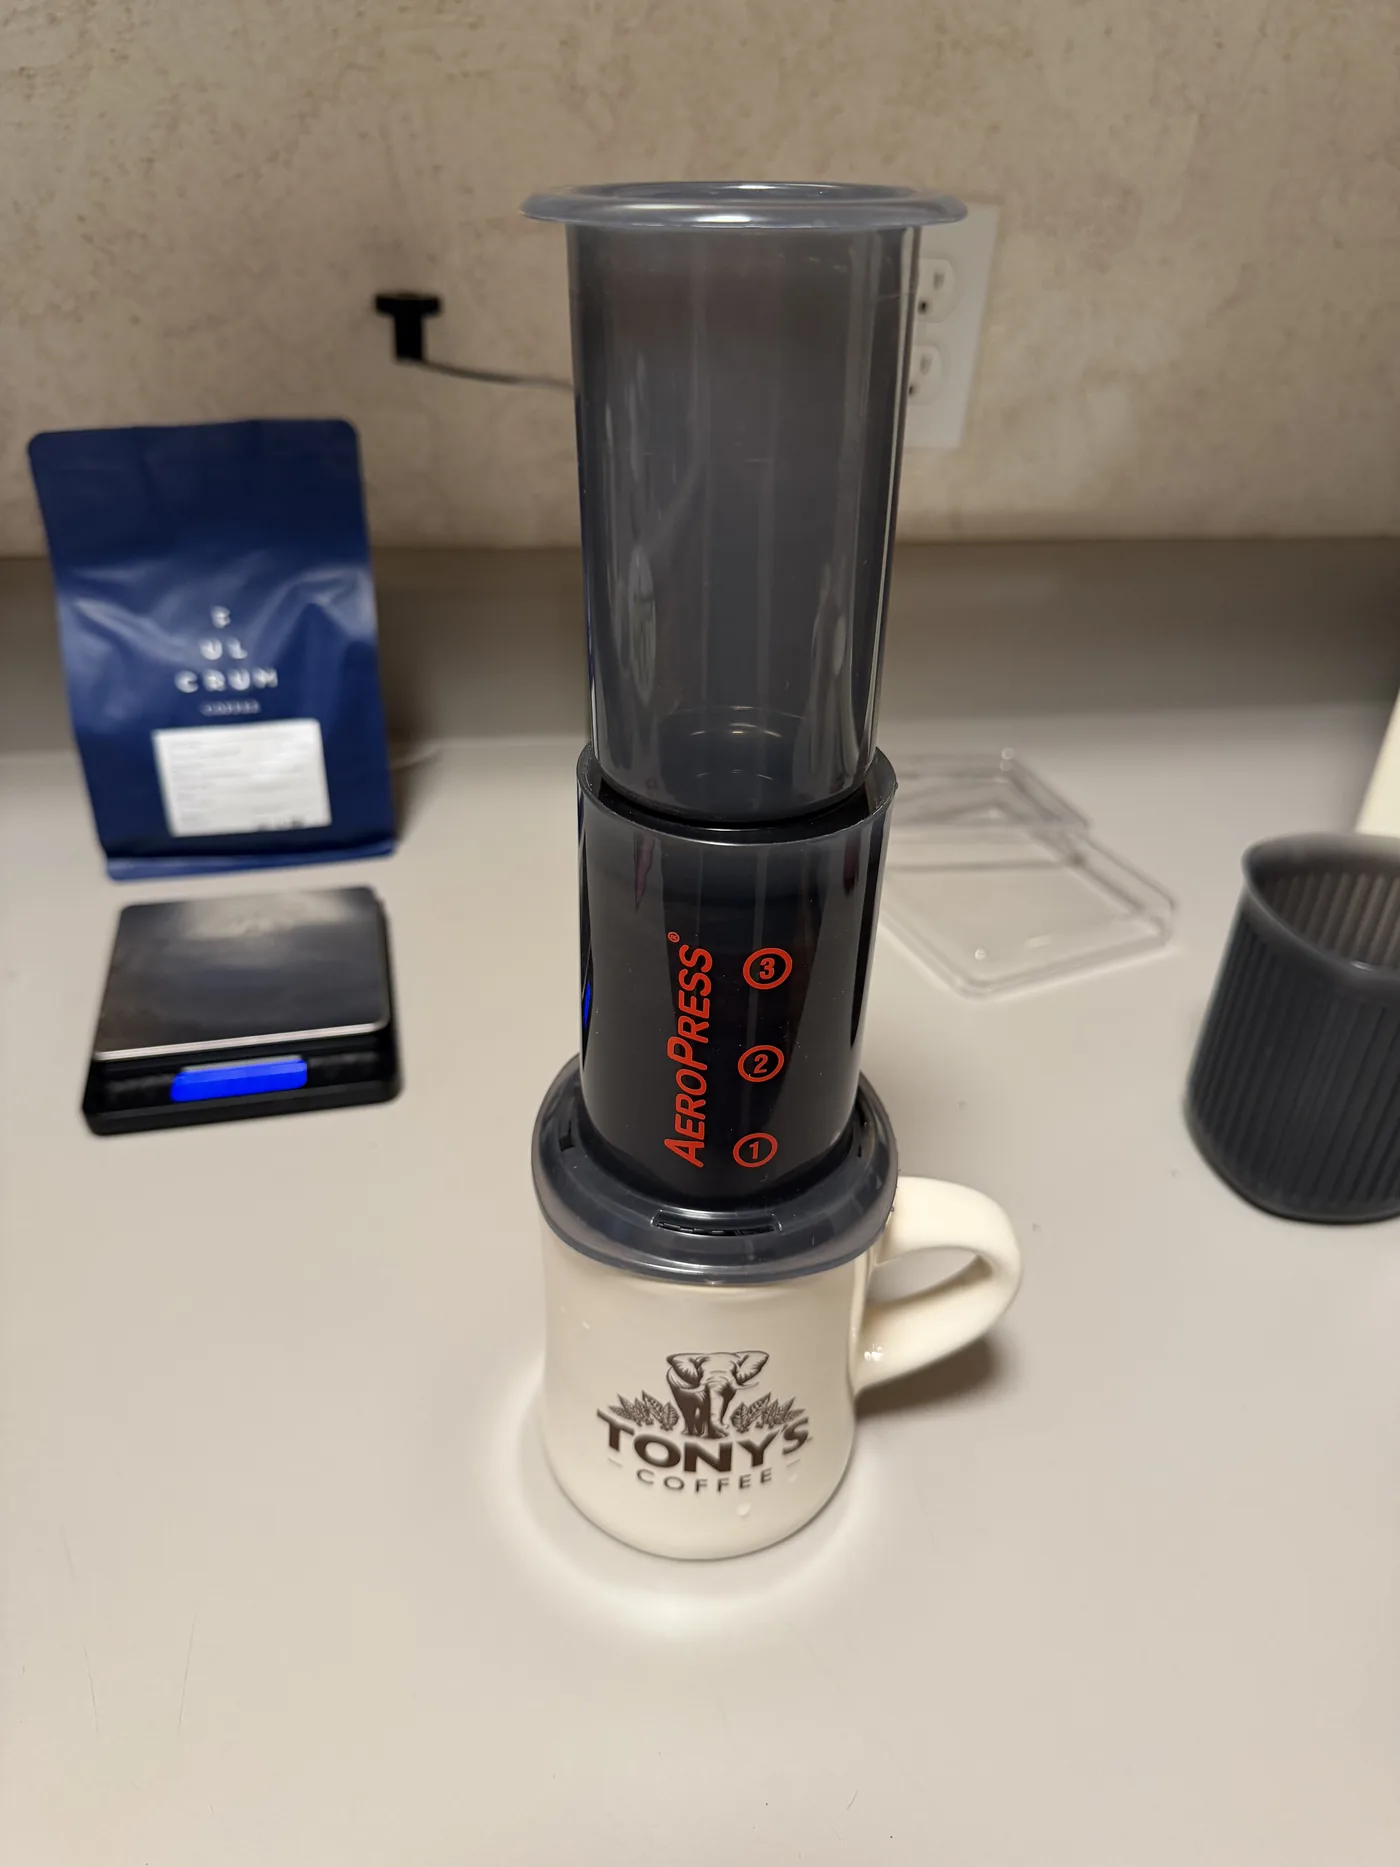
The travel coffee setup I packed for a long weekend in the San Juan Islands: AeroPress Go, hand grinder, pocket scale, and a modified James Hoffmann AeroPress recipe.
We took the ferry from Anacortes to San Juan Island in July for a long weekend, two nights at Friday Harbor Suites, in a room with a microwave and no kettle. My travel kit is not the most minimal one going. It is an AeroPress Go, a hand grinder, a small scale, and a bag of coffee from home, and the whole thing fits in a packing cube. The trade is a few minutes of standing at the counter in exchange for a first cup worth getting up for.
What is in the travel kit
| Item | Why it comes |
|---|---|
| AeroPress Go | Small, unbreakable, forgiving, and quick to clean in a sink you do not own |
| Stainless hand grinder | The part you cannot fake. Pre-ground coffee fades fast |
| Pocket scale | Turns a guess into a recipe you can repeat tomorrow |
| 340 g bag from home | Fulcrum’s Sonora San Isidro 48, a natural Costa Rican, roasted July 14 |
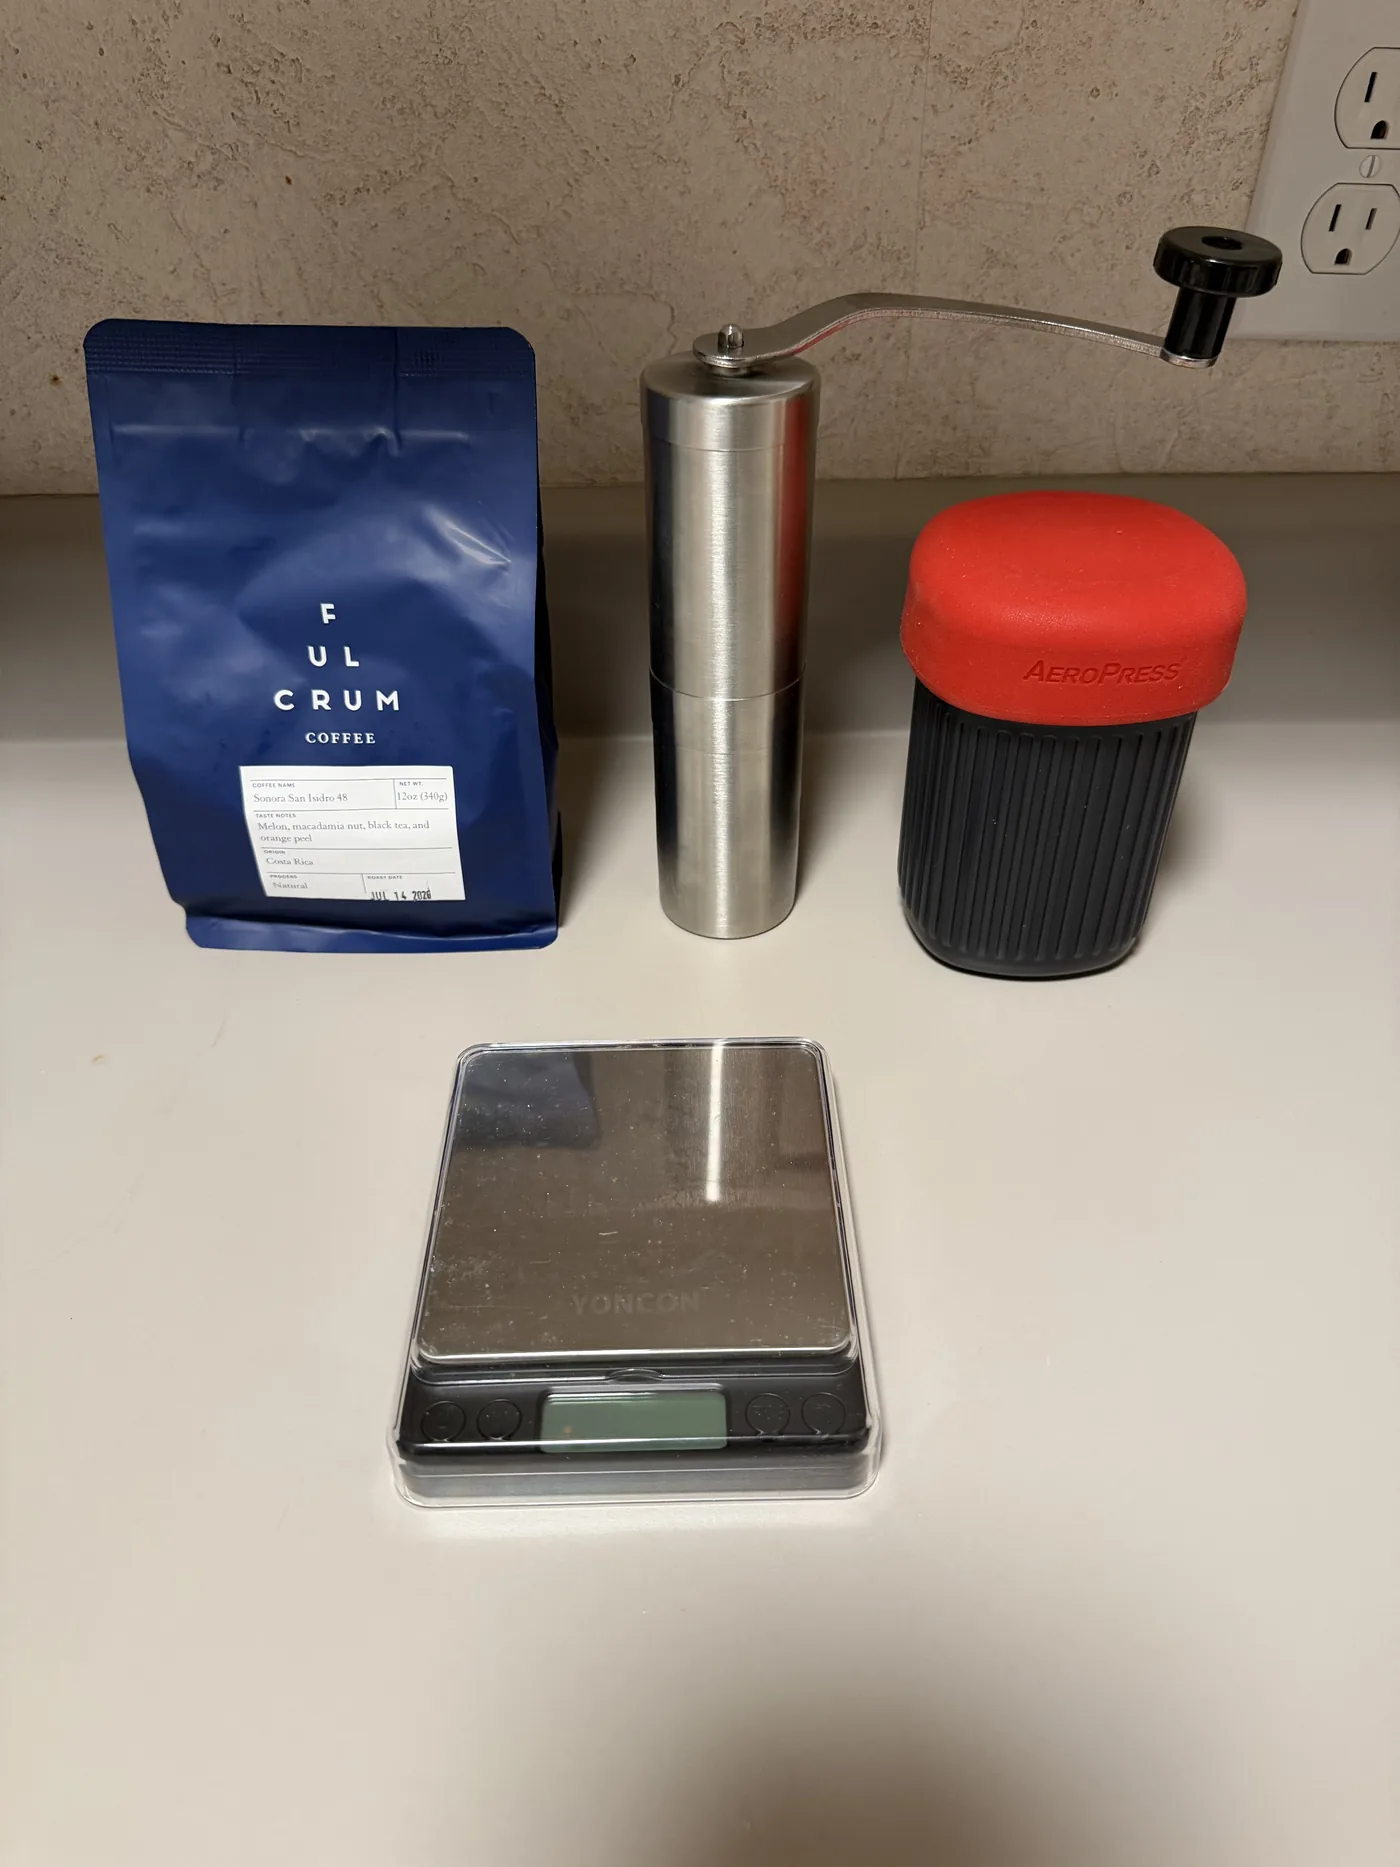
Coffee from home is the part people skip, and it does more for the cup than any piece of gear. A bag you already like removes the biggest variable before you start. Buying local coffee on the trip is its own pleasure, though it is a gamble on the first morning, when you want it least.
The AeroPress Go for travel
The Go is the smaller version of the original. AeroPress rates the original at up to 10 oz per brew and the Go at 8 oz, and the Go packs to 4.5 by 3.6 inches and 11.4 oz with the mug, lid, scoop, stirrer, and filters nested inside (AeroPress). The brewing action is the same. What you give up is volume.
That matters more than the spec sheet suggests. The Go chamber carries three volume marks where the original has four, and its top mark sits below the rated 8 oz. My 220 g of water with 16 g of coffee fills the chamber to the brim, with just enough room left to seat the plunger. It works, but pour carefully and keep the brewer on a level surface. If you would rather have some margin, start at 200 g and scale the dose down to match.
For a single traveller the Go is the easy pick. If you are brewing two cups every morning, the original is the better tool and barely bigger. See the best coffee brewers for how it compares to a pour-over setup.
The recipe I used
This is a modified version of James Hoffmann’s AeroPress technique. The shape of his method is intact and the numbers are mine.
- Coffee: 16 g
- Water: 220 g, heated to just short of boiling, somewhere around 90 to 96°C
- Ratio: 1:13.8
- Orientation: standard, on top of the mug
- Press: begins at 2:30 and takes about 45 seconds
Put the filter in the cap, the coffee in the chamber, and the chamber on the mug. Pour all 220 g, then seat the plunger far enough to hold the water in. Let it steep for two minutes. Lift the plunger out, stir once quickly, and put it back. At 2:30, press gently until you hear the hiss.
Hoffmann’s version, which he published in The Ultimate AeroPress Technique, runs leaner:
| Hoffmann | Mine | |
|---|---|---|
| Coffee | 11 g | 16 g |
| Water | 200 g | 220 g |
| Ratio | 1:18.2 | 1:13.8 |
| Water temperature | brought to a boil, used immediately | just short of boiling, 90 to 96°C |
| At 2:00 | swirl, plunger seated | lift plunger, quick stir, reseat |
| Press starts | 2:30 | 2:30 |
The architecture is his and the strength is mine. His 1:18.2 gives a clean, tea-like brew, while mine lands about a third stronger, which suits a natural Costa Rican in a travel mug I am drinking slowly. Both versions begin the press at 2:30 and both keep the brewer upright. For his timed version use the Hoffmann AeroPress recipe, and to scale either one to your mug there is an AeroPress calculator.
Calibrate the hand grinder before you leave
This is the trick worth stealing from the trip. Hand grinders rarely tell you anything useful about where their settings sit, and an unfamiliar kitchen is a bad place to find out.
Before packing, I ground a small amount on my home grinder at the setting I use for an AeroPress, then adjusted the hand grinder and ground a little more until the two piles looked and felt the same. Rub a pinch between your fingers and compare them side by side. Once they match, note the hand grinder setting and leave it there.
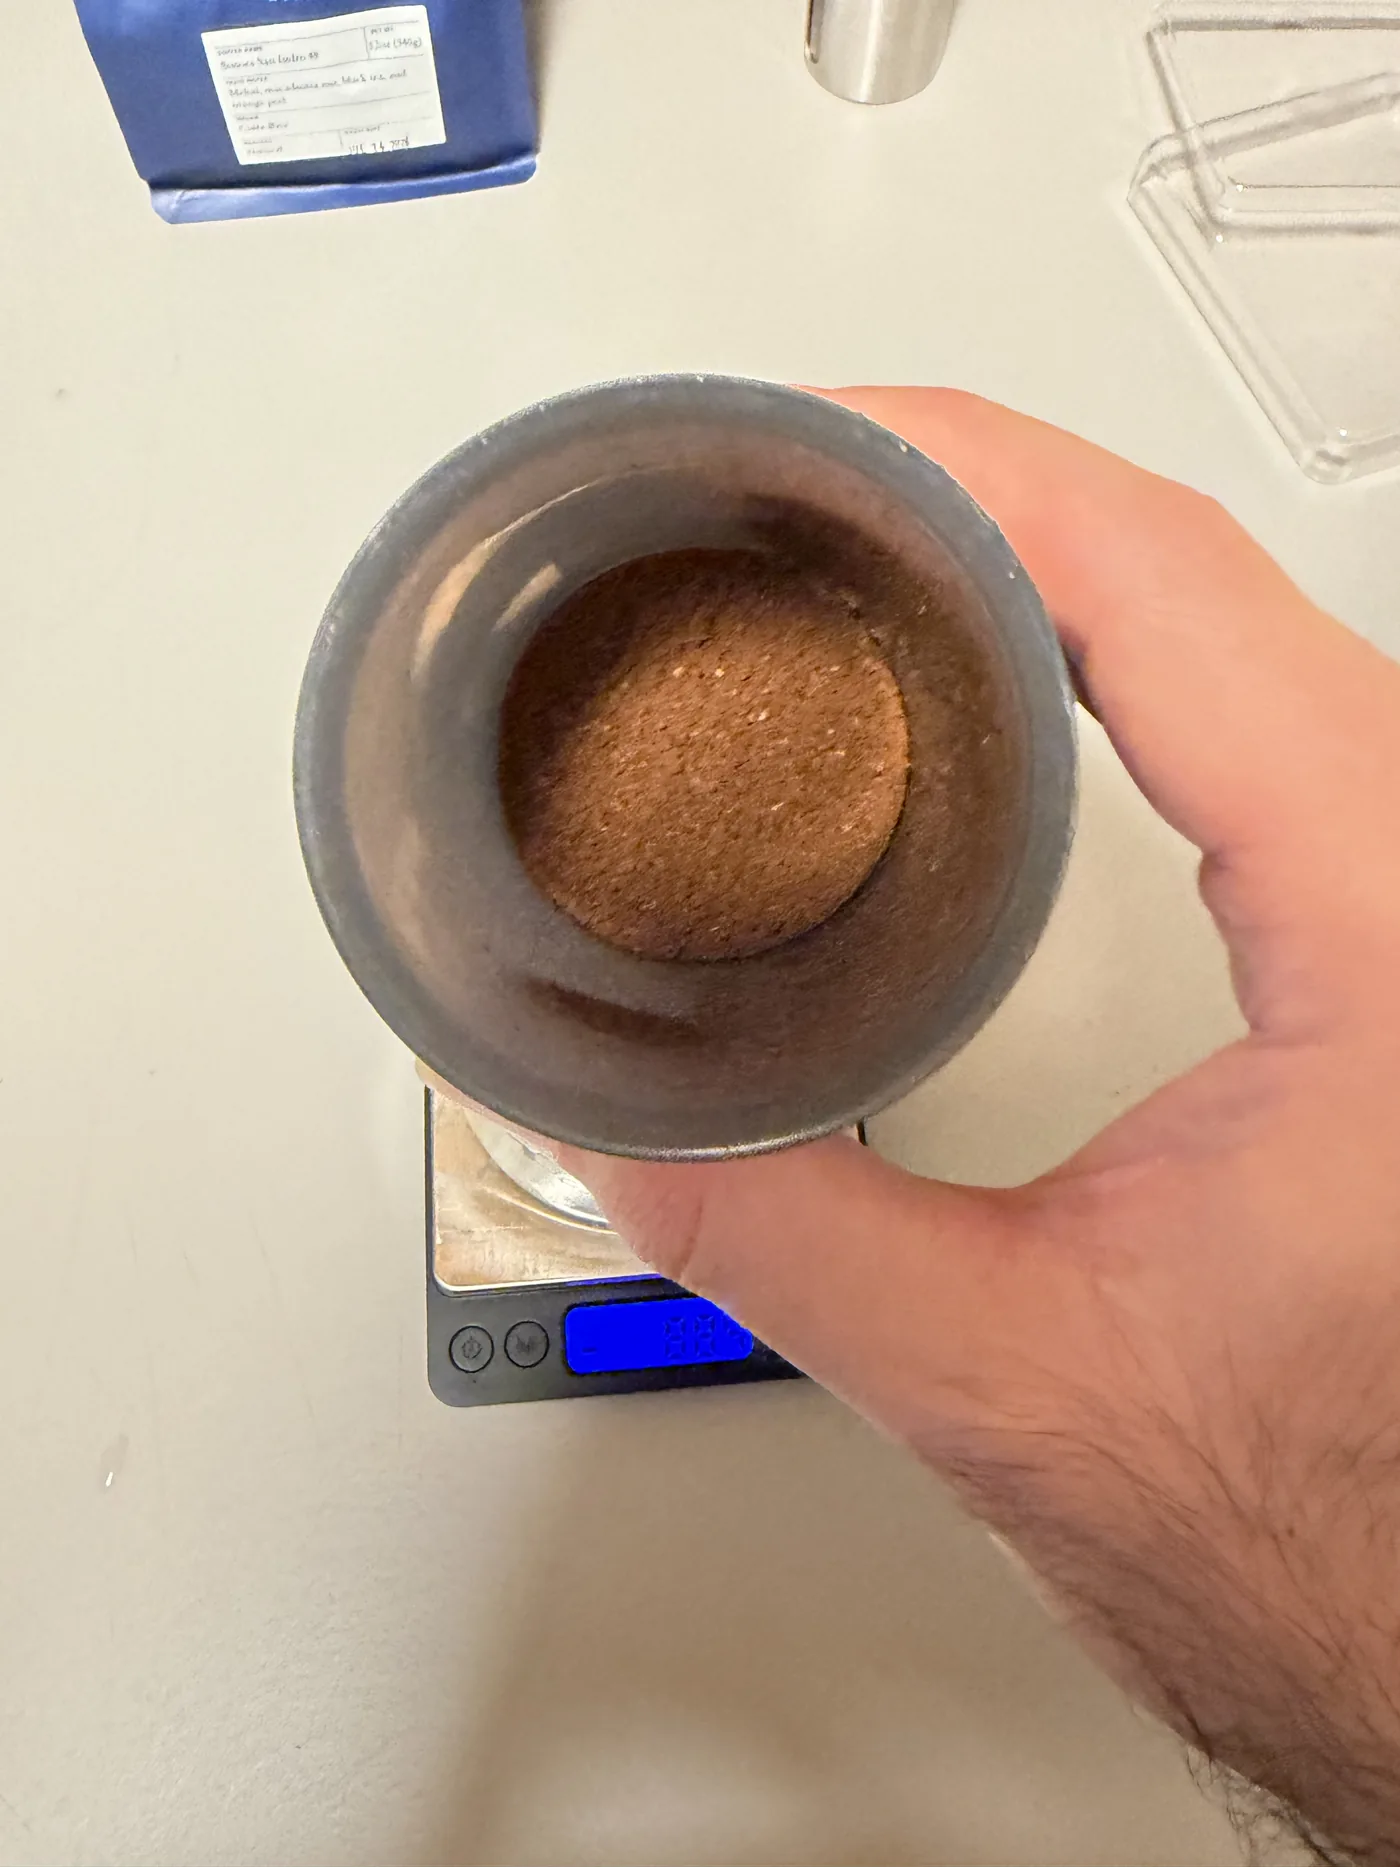
You arrive with a starting point you have already tasted rather than a guess. AeroPress recommends medium-fine, finer than drip and coarser than espresso (AeroPress), and Hoffmann calls his the finer end of medium for a light roast. Those agree closely enough to aim at the same place. More detail in grind size.
Water temperature away from home
Nobody packs a temperature-controlled kettle, and the advice on AeroPress temperature is unusually split. AeroPress itself recommends 80°C for dark roasts and 85°C for medium and light (AeroPress). Hoffmann uses water brought to a boil and used immediately. That is a wide gap for one brewer.
The room had a microwave and nothing else, so I heated water in a mug until it was just short of boiling and poured it. Call it 90 to 96°C, which lands between the two recommendations. I stopped trying to be precise about it, and the coffee was good every morning. Microwaves heat unevenly, so stir the water before it goes in, and if the cup comes out sharp and thin, let it stand a little longer next time. See brew temperature for how much this actually moves the cup.
When you leave the kit behind
Some trips the kit stays in the bag. On those mornings we use a La Cabra drip bag, which is a single dose of ground coffee in a paper cone that hangs on the rim of a mug. You add hot water and wait. It is well short of a proper brew, and it takes about thirty seconds and no cleanup.
If you are travelling with nothing at all, bring ground coffee from a roaster you like and use whatever hot water the room has. Coffee starts fading within days of grinding, so buy it close to the trip and keep the bag sealed. Freshness does more work here than technique.
Coffee in Friday Harbor
Friday Harbor has more coffee than a town of 2,600 has any business having. I brewed most in the room and still ran out of days well before I ran out of places to try.
Medio Cafe is inside Friday Harbor Suites, where we were staying, so I found it by accident on the first morning. It was the best surprise of the trip. They list a hand pour-over with a rotating set of single origins, and the one I had was excellent, which raises a fair question about why I was grinding by hand in the room at all. It got its own writeup: a pour-over I did not expect in Friday Harbor.
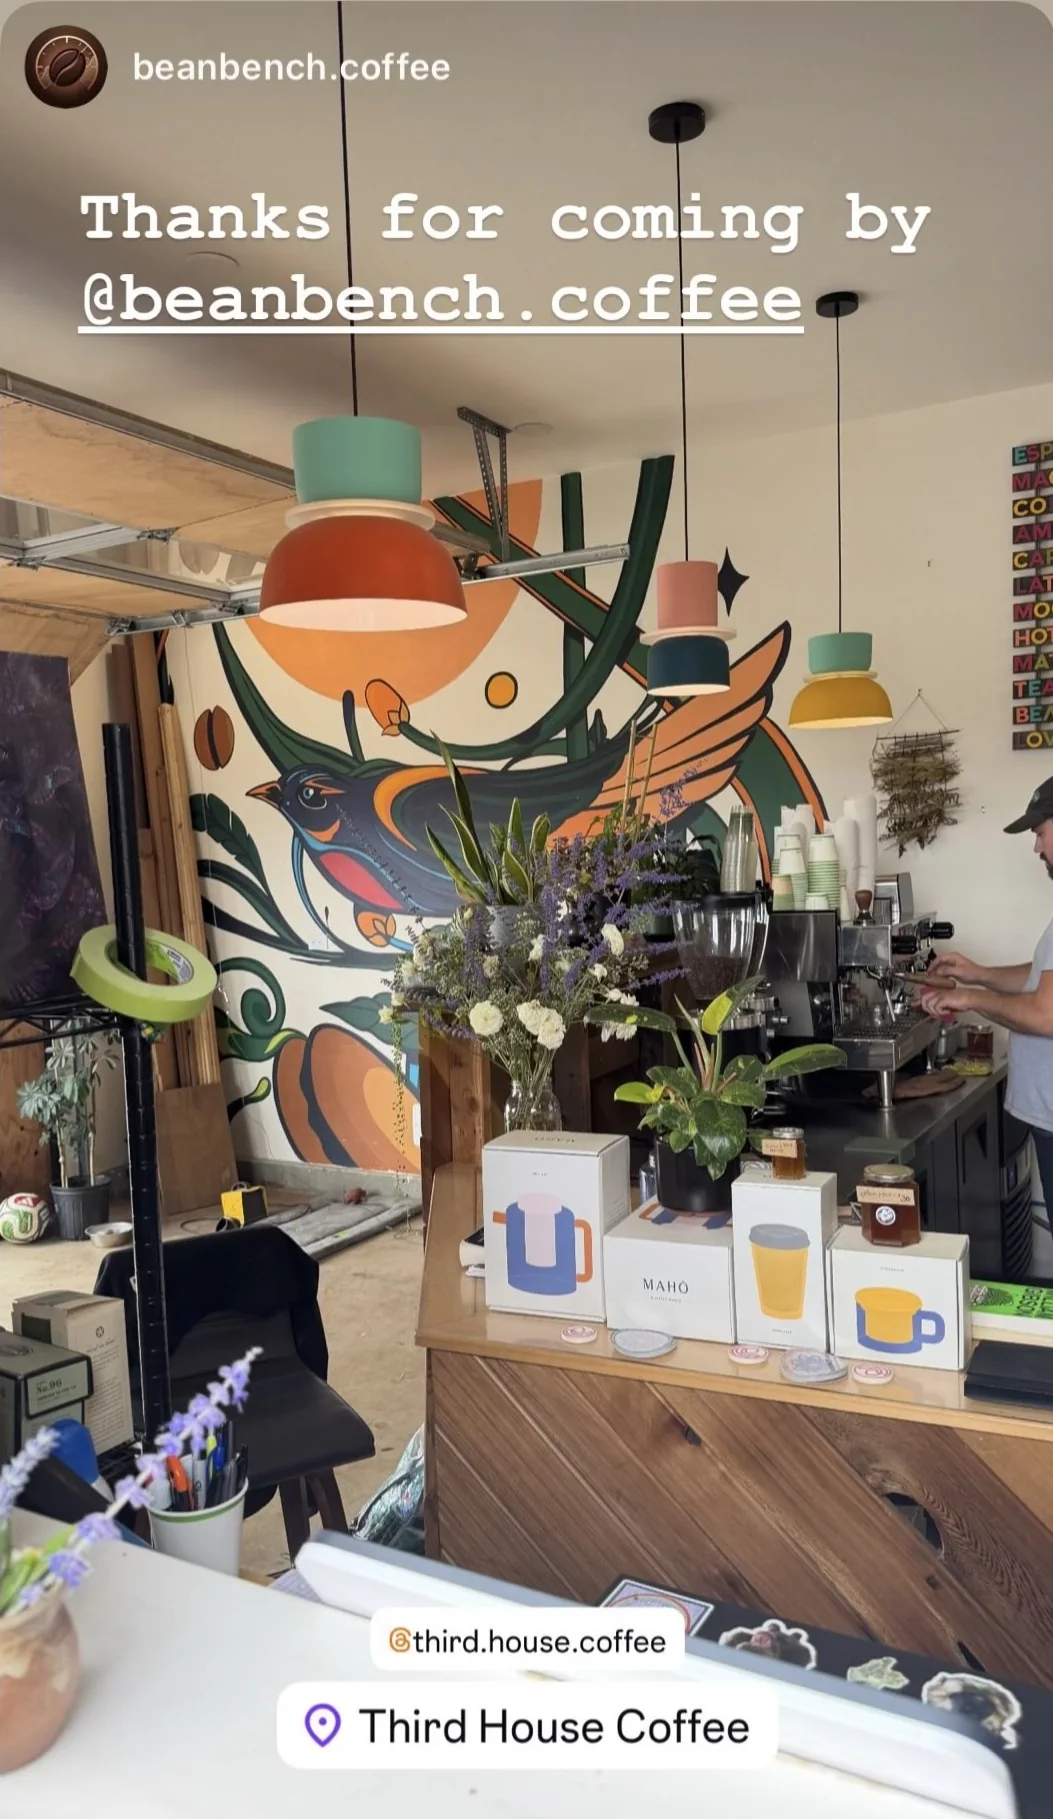
Third House Coffee on Mullis Street roasts on the island in small batches, and the room is worth the trip on its own: a bird mural across the back wall, plants and cut flowers on every surface, and the airfield right out front. They reshared my photo to their story while we were still on the island, which was a generous welcome for a visitor who had walked in off the street.
Near the ferry terminal, San Juan Island Roasters has been roasting on San Juan since 1990, and Salty Fox is a few doors along on Front Street. Both were on my list and neither fit into two nights, which is the sort of thing you regret later.
Track it in BeanBench
Travel brewing is where a log earns its keep, because every variable changes at once: new water, a different grinder, a mug instead of a scale-friendly carafe. Write down the dose, water, temperature, grind, and how it tasted, and the second morning starts from data rather than memory.
Log the brew in BeanBench and it lands alongside the ones from your kitchen, so the difference is visible instead of remembered. From here, compare brewers in the best coffee brewers, read up on grind size, or take the timed version from the Hoffmann AeroPress recipe and the full recipe list.
Frequently asked questions
What is the difference between the AeroPress and the AeroPress Go?
The Go is the smaller travel version. AeroPress lists the original at up to 10 oz per brew and the Go at up to 8 oz, and the Go packs down to 4.5 by 3.6 inches at 11.4 oz with its mug, lid, scoop, stirrer, and filters stored inside. The brewing action is identical. The Go chamber has three volume marks where the original has four.
How much water fits in an AeroPress Go?
AeroPress rates the Go at 8 oz, about 237 ml, and its top mark sits below that. I brew 220 g of water with 16 g of coffee, which fills the chamber to the brim and leaves just enough room to seat the plunger. If you want margin, start at 200 g and scale the coffee to match.
Can you fit a hand grinder inside the AeroPress Go?
The Go's mug is sized for the brewer, filter holder, scoop, and stirrer. AeroPress says its own manual grinder fits inside an AeroPress, but whether any given grinder fits depends on the grinder. Mine packs next to the Go rather than inside it.
Do you need electricity to make coffee while travelling?
You need hot water from somewhere, and that is the only part that needs power. An AeroPress, a hand grinder, and a scale all work without it. A kettle, a stove, or a microwave and a mug will all get you there.
How do you make good coffee in a hotel room?
Bring your own coffee and a brewer, and use whatever heats water: a kettle, or a microwave and a mug. I brewed a long weekend of hotel-room coffee on a microwave alone. Ground coffee from home works if you have no grinder, though it fades within a few days of grinding. If you are travelling with nothing, a single-serve drip bag beats what is usually in the room.
What grind size should you use for an AeroPress?
AeroPress recommends medium-fine, finer than drip and coarser than espresso. James Hoffmann describes his as the finer end of medium for a light roast, and suggests a coarser grind and a bigger dose as the roast gets darker. Those two line up well as a starting point.
How do you match a hand grinder to the grinder you use at home?
Grind a small amount on the grinder you trust at the setting you want, then adjust the hand grinder until its grounds look and feel the same next to it. Write the setting down. You arrive with a known starting point instead of guessing in an unfamiliar kitchen.
What is James Hoffmann's AeroPress recipe?
11 g of coffee and 200 g of water, about 1:18, with the water brought to a boil and used immediately. Standard orientation. Seat the plunger about 1 cm into the chamber, wait two minutes, swirl gently, wait another 30 seconds, then press gently all the way.